Kimchi Chicken Fried Rice
Table of Contents
A Kimchi Chicken Fried Rice Recipe Built for Busy Weeknights
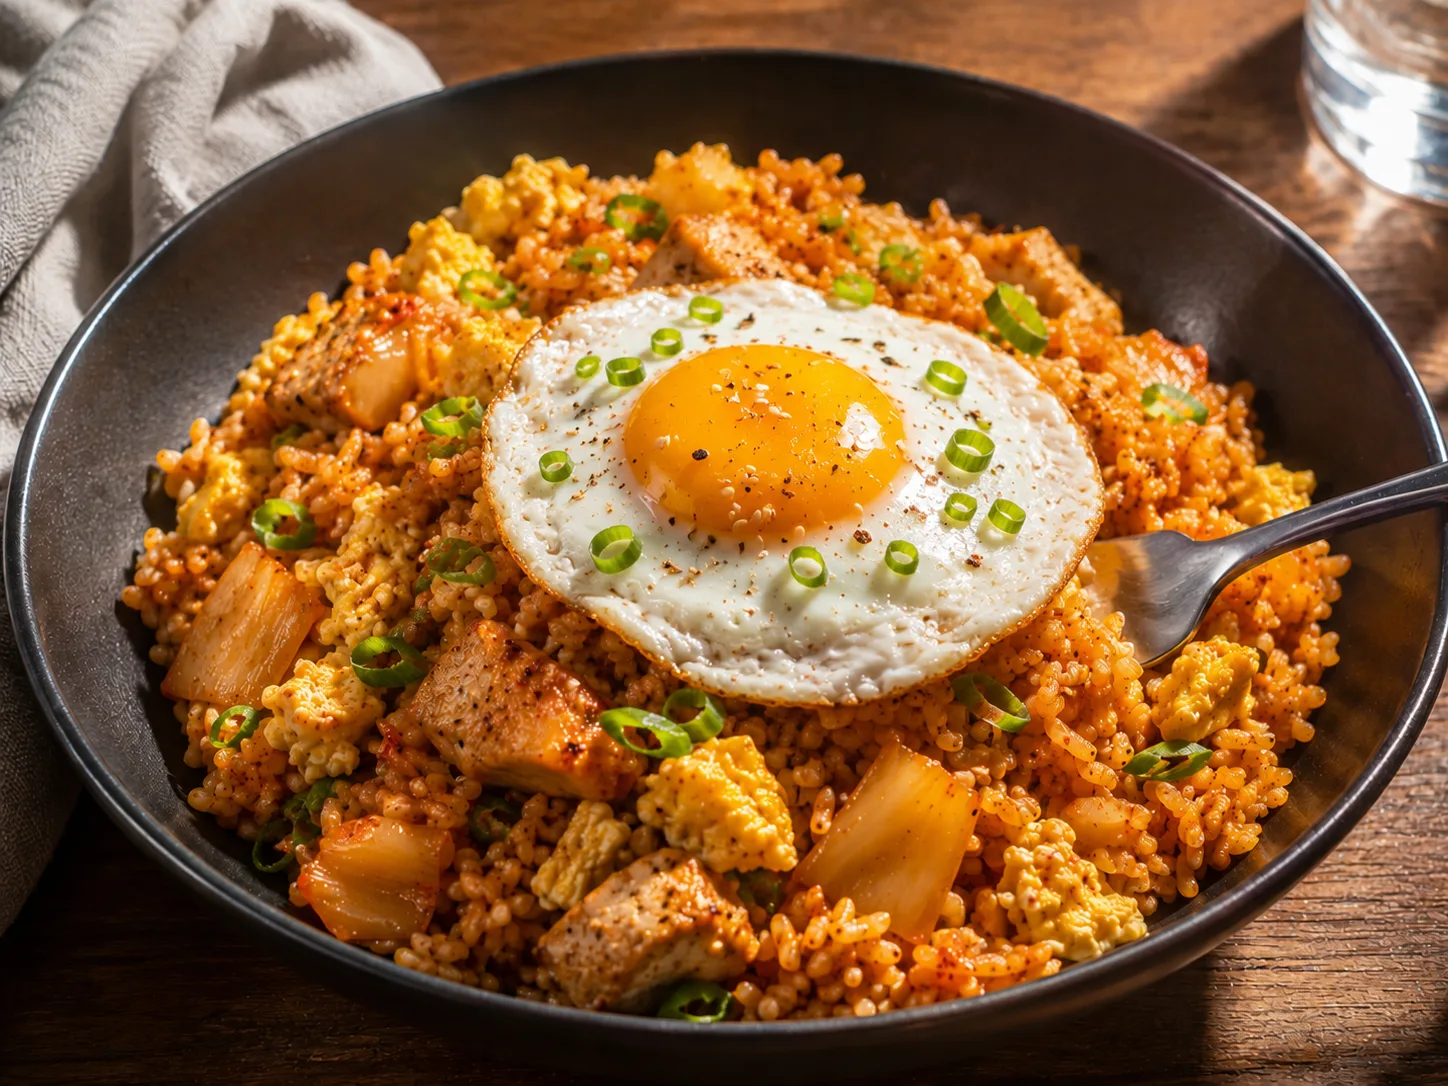
If you keep a jar of kimchi in your fridge, this kimchi chicken fried rice recipe is one of the best ways to put it to work. It takes day-old rice, juicy chicken, and well fermented kimchi and turns them into a fast, deeply flavorful dinner that comes together in one pan with very little cleanup afterward.
Kimchi itself is doing a lot more than adding tang and heat here. Beyond flavor, kimchi is a fermented food rich in probiotics that may support gut health along with dietary fiber, vitamins, and minerals, which is part of why it has become such a popular pantry staple well beyond Korean kitchens.
A small spoonful of gochujang rounds out the sauce with extra depth, and it is worth knowing a bit about what makes this ingredient so distinctive. Gochujang is a fermented Korean condiment traditionally made from chili powder, glutinous rice, and fermented soybeans, giving it a complex sweet, salty, and spicy character that a plain chili sauce simply cannot replicate.
The rice itself is not an afterthought either, since using day-old rice instead of fresh is what separates good fried rice from mushy fried rice. Once rice cools in the refrigerator, the starch molecules undergo a process called retrogradation that firms up the grains and removes excess moisture, which is exactly why chilled rice fries up crisp while freshly cooked rice tends to clump and steam.
A drizzle of toasted sesame oil finishes the dish with a nutty, aromatic edge, and it brings a bit more to the plate than flavor alone. Sesame oil is rich in antioxidants like sesamol and sesaminol, along with heart healthy unsaturated fats, making it a small addition with a real nutritional upside.
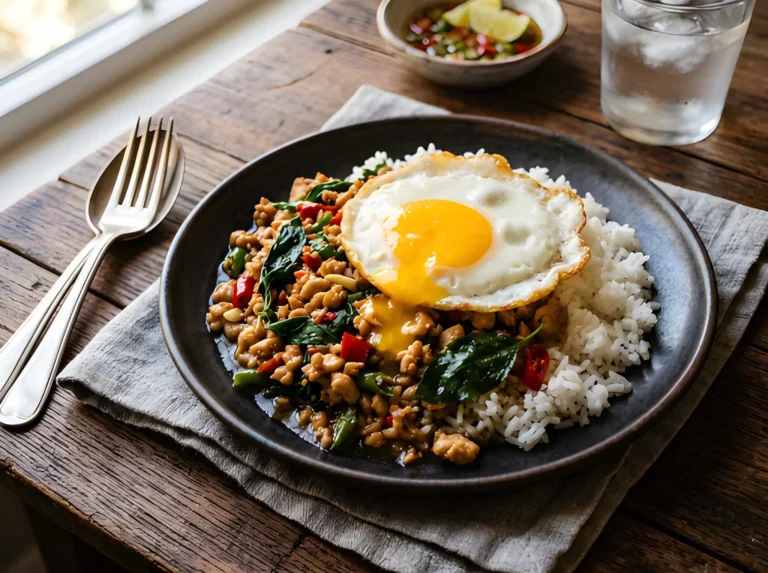
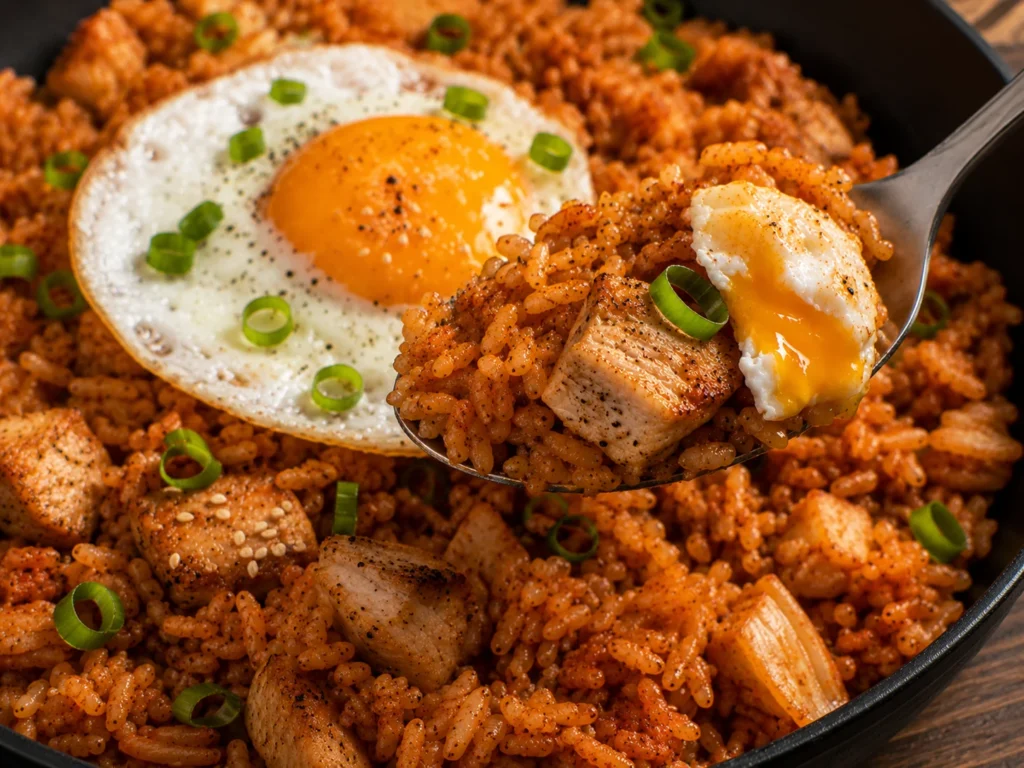
The fried egg on top is what really ties this chicken kimchi fried rice together, letting that rich, runny yolk mix into every bite. Eggs pull a lot of weight nutritionally too, since a single egg delivers high quality protein along with a range of vitamins and minerals packed into very few calories.
As always with raw chicken, a little extra care during prep goes a long way. Keeping chicken properly chilled, cutting it on a separate surface, and cooking it through fully are all worth taking seriously, and the USDA’s guidance on safe poultry handling is a solid reference to keep in mind before you start. Once that part is squared away, this recipe really just comes down to a hot pan and a little patience.
Why You’ll Love This Recipe
Well fermented kimchi gives this fried rice deep tangy flavor and a natural kick of spice in every bite, without needing a long ingredient list to get there.
Day-old rice and a hot pan let the grains char slightly at the edges, giving this chicken kimchi fried rice that crispy, restaurant style texture home cooks often struggle to recreate.
Everything cooks together in the same skillet, which keeps this a genuinely simple one pan process from start to finish, with minimal cleanup once dinner is done.
A fried egg finish adds a rich, runny yolk that turns every bite a little more indulgent, though it is easy to skip or swap for a scrambled egg if you prefer.
What to Serve With Kimchi Chicken Fried Rice
This dish is satisfying enough to eat entirely on its own, but a bowl of quick pickled vegetables is a great addition, cutting through the richness of the rice with something crisp and tangy.
A simple cucumber salad works well too, offering a cool, refreshing contrast to the hot, spicy rice.
For something a little heartier, a bowl of miso or egg drop soup rounds the meal out nicely, and steamed or pan fried dumplings are a solid addition when cooking for a group.
How This Kimchi Chicken and Rice Recipe Comes Together
This recipe leans on one pan doing all the work, with the chicken, kimchi, and rice each building on the flavor left behind by the step before it.
The chicken sears first to develop color and flavor, then the kimchi cooks down until slightly caramelized before the rice joins the pan and gets its chance to crisp up undisturbed.
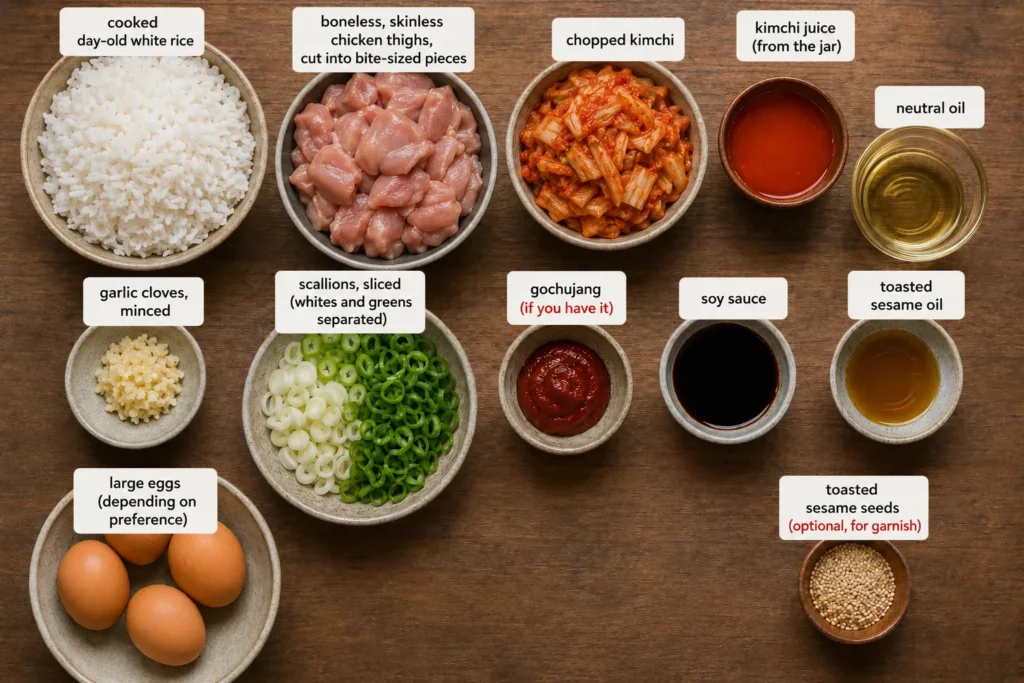
A final toss with kimchi juice and soy sauce brings everything together, and a freshly fried egg on top finishes the bowl. Here is everything you will need to bring it together.
Kimchi Chicken Fried Rice Recipe
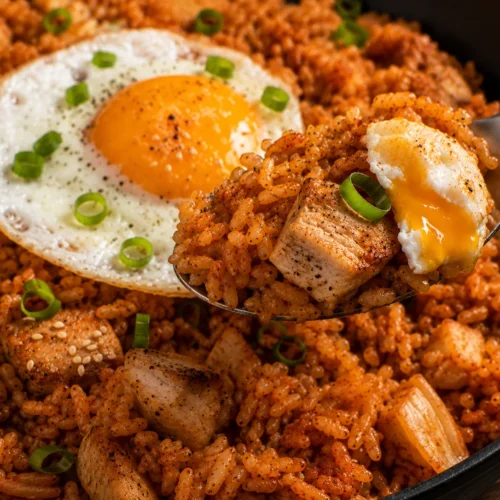
Kimchi Chicken Fried Rice

Equipment
- Large skillet or wok
- Small skillet (for frying eggs)
- Spatula
Ingredients
- 4 cups cooked day old white rice
- 1 pound boneless skinless chicken thighs, cut into bite sized pieces
- 1½ cups chopped kimchi
- 2 tbsp kimchi juice from the jar
- 2 tbsp neutral oil
- 3 garlic cloves minced
- 3 scallions sliced, whites and greens separated
- 1 tsp gochujang if you have it
- 3 tbsp soy sauce
- 1 tsp toasted sesame oil
- 2 to 4 large eggs depending on preference
- 1 tsp toasted sesame seeds optional, for garnish
Instructions
- Prep and Cook the ChickenCut the chicken thighs into small, bite sized pieces so they cook quickly and evenly. Mince the garlic and slice the scallions, keeping the white and green parts separated.Heat the neutral oil in a large skillet or wok over high heat, then add the chicken and cook until golden brown and cooked through, stirring occasionally.
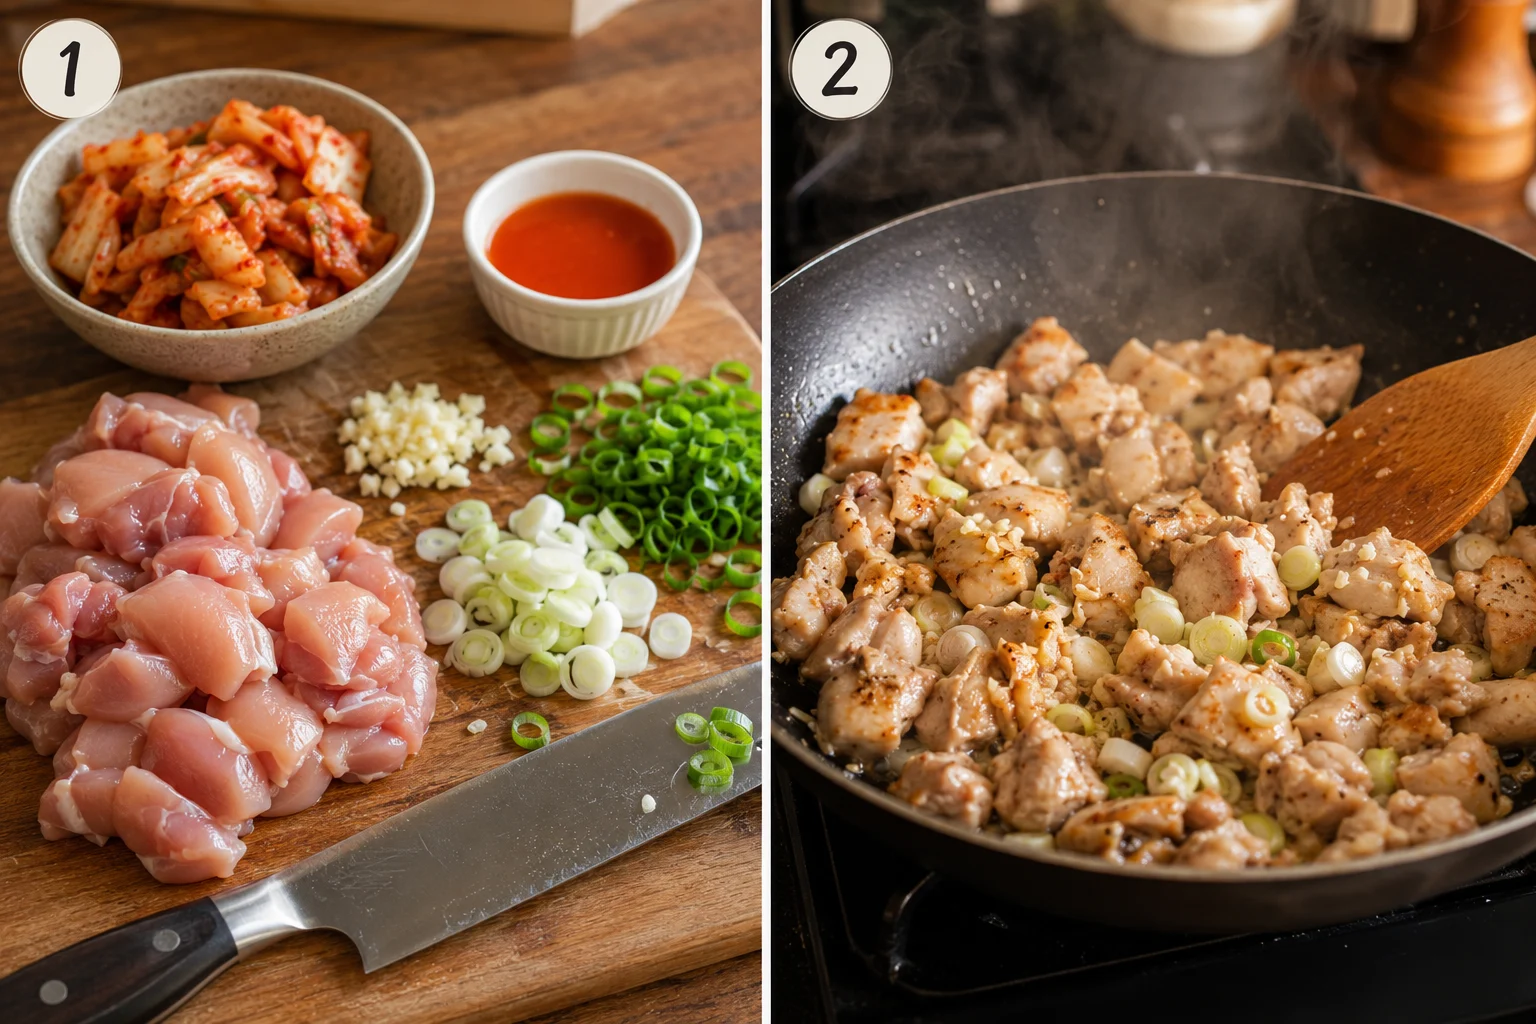
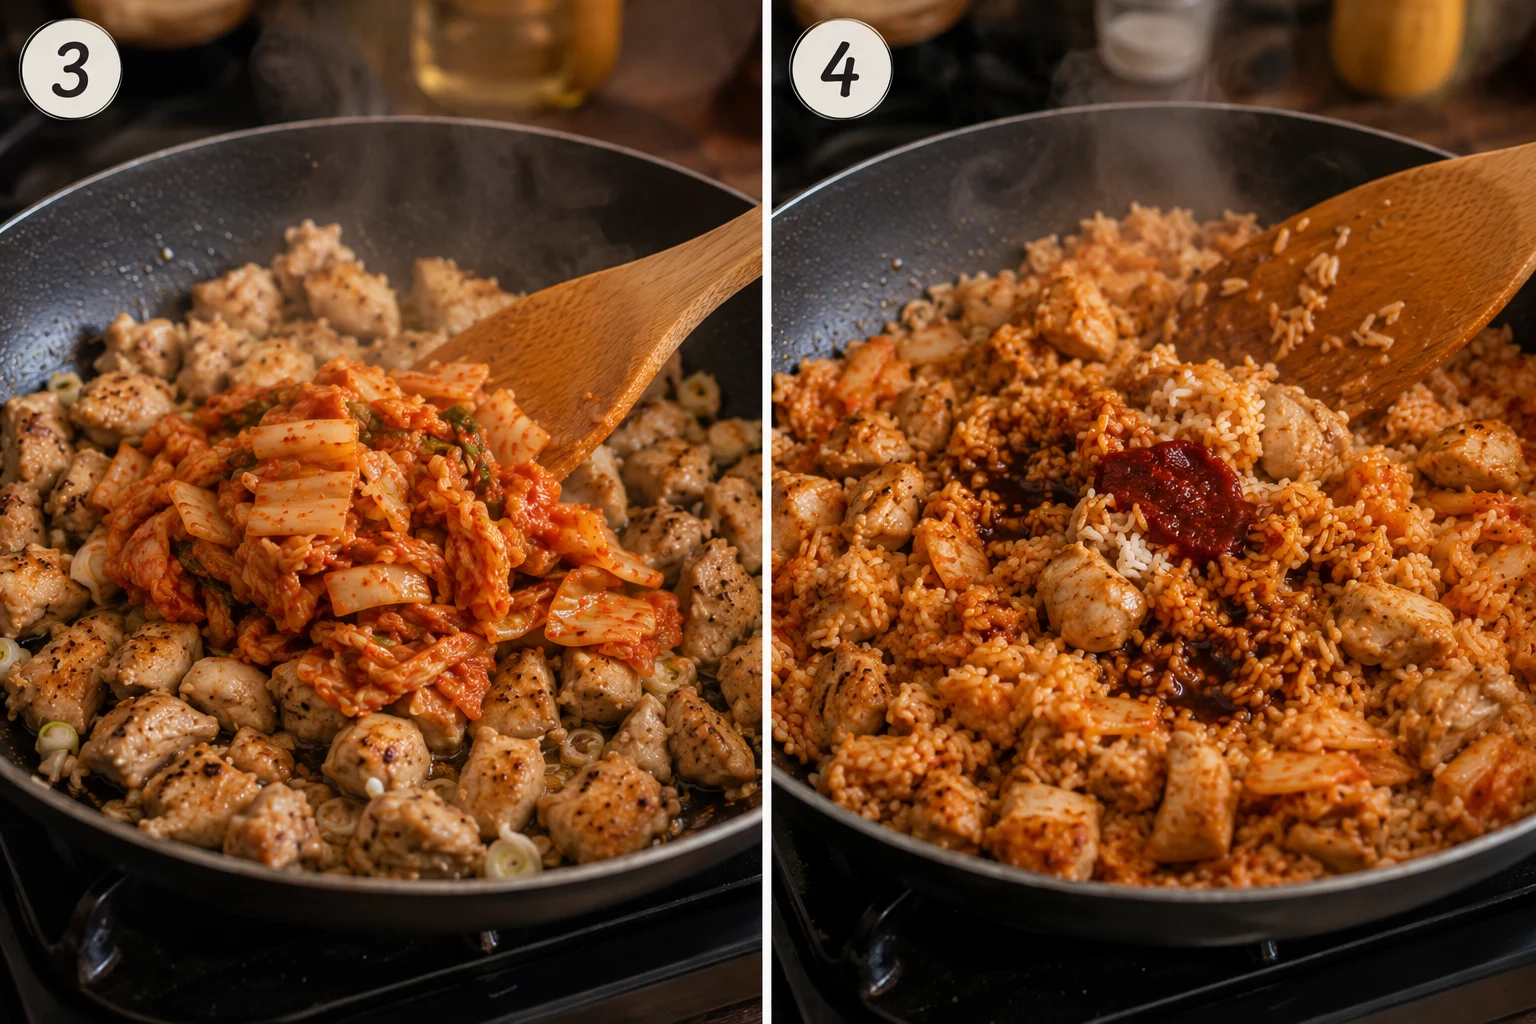
- Add the Kimchi and Fry the RiceAdd the garlic and white parts of the scallions to the pan and stir for about thirty seconds until fragrant. Add the chopped kimchi and let it cook down for a couple of minutes until slightly caramelized, then stir in the gochujang. Break up the day old rice and spread it into an even layer, letting it sit undisturbed for a minute to crisp up.Pour in the kimchi juice and soy sauce, tossing until the rice is evenly coated and deeply colored.
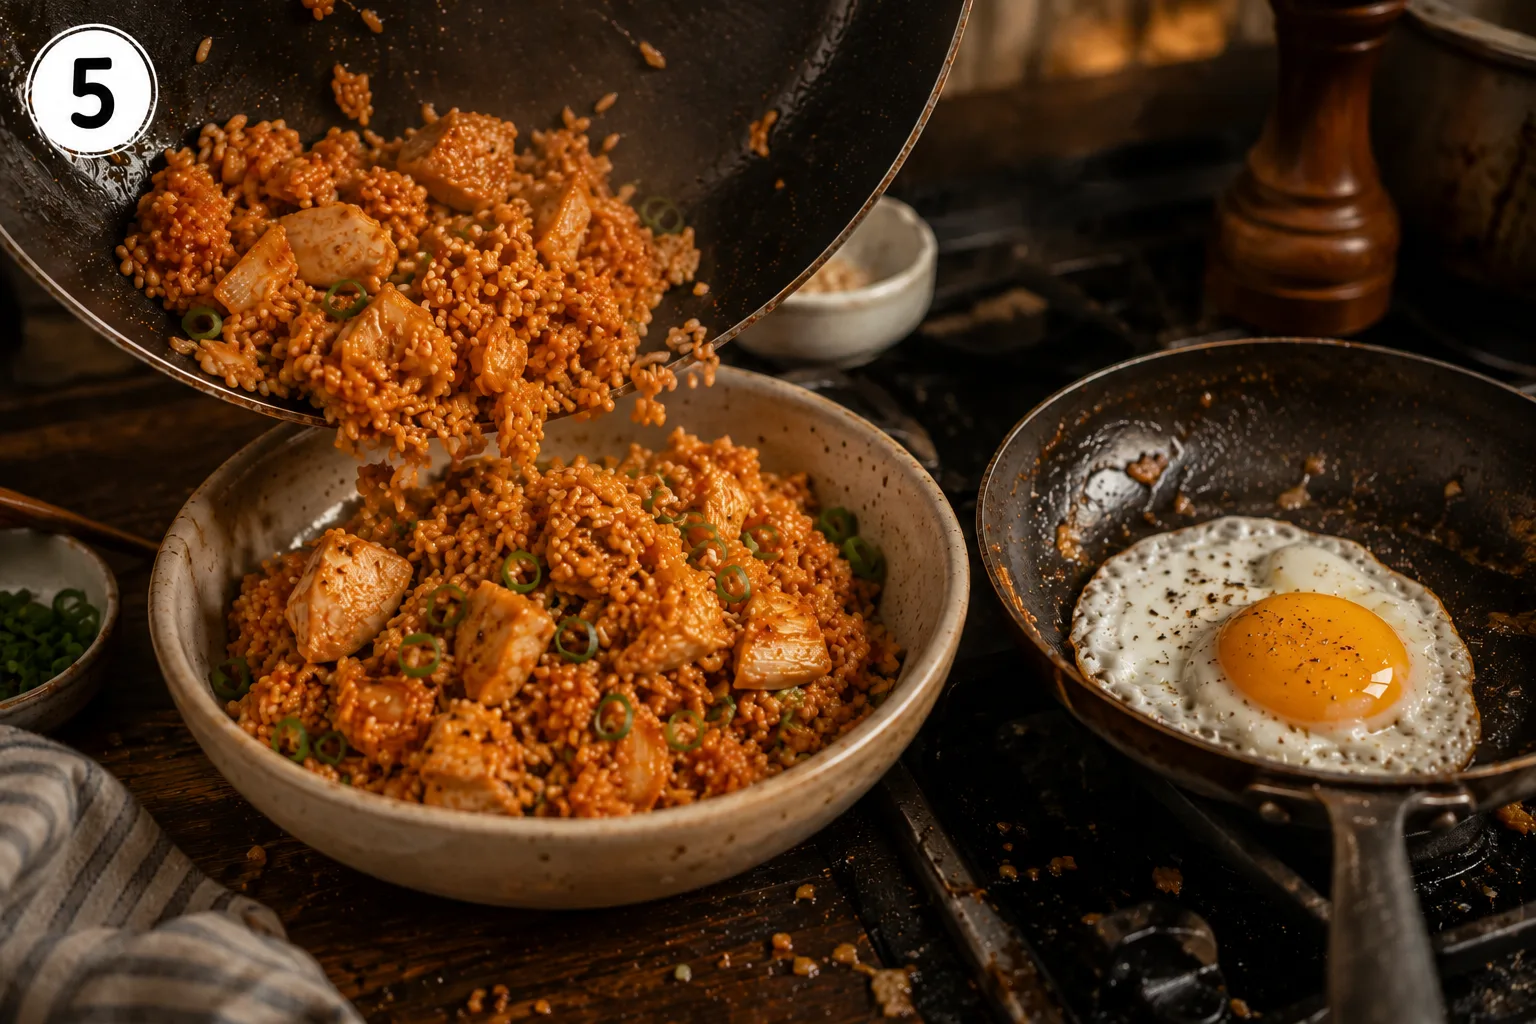
- Fry the Eggs and ServeWhile the rice finishes cooking, heat a small separate pan and fry the eggs sunny side up until the whites are set and the edges turn slightly crisp, keeping the yolk runny. Spoon the fried rice into bowls, top each with a fried egg, and finish with the sliced green scallions and toasted sesame seeds.
Notes
- Use rice that has had time to dry out, since this is what creates the crispy, separated texture instead of a sticky, clumpy one.
- Choose kimchi that is well fermented and tangy, since this adds far more depth of flavor than a very fresh, mild kimchi.
- Let the rice sit undisturbed in the hot pan for a minute before stirring, since this is what builds those crispy, caramelized bits.
- Cook in batches if needed so the pan stays hot enough to fry the rice properly rather than steaming it.
- Keep the heat high throughout the cooking process for that slightly smoky, restaurant style flavor.
- A well seasoned wok or nonstick pan helps a great deal, making it easier to get an even, golden fry without sticking.
Frequently Asked Questions
Is this the best recipe for kimchi fried rice for beginners?
Yes, this version is designed to be approachable even if you have never cooked with kimchi before. Everything happens in one pan with no special equipment beyond a good spatula, and the technique stays forgiving as long as your rice is cold and your pan is hot.
Can I use fresh rice instead of day old rice?
Fresh rice can work in a pinch, but it tends to be too moist and will turn mushy instead of crispy once it hits the pan. If you only have fresh rice, spread it out on a baking sheet and let it cool and dry out in the fridge for at least an hour before cooking.
Why did my fried rice turn out soggy instead of crispy?
This usually happens when the pan is not hot enough or when too much liquid is added at once. Give the oil time to get properly hot before adding the rice, and let the rice sit undisturbed for a minute or two so it can develop those crispy, slightly charred edges before you start stirring again.
Can I make this ahead of time?
The rice itself is best made fresh since it loses some of its crispness the longer it sits, but you can absolutely prep components ahead. Chop the kimchi, mince the garlic, and cut the chicken the night before so all that is left to do is cook everything together when you are ready to eat.
Can I skip the fried egg?
You can, though the runny yolk adds a rich, creamy element that ties the whole bowl together. If you prefer, a scrambled egg mixed directly into the rice works well too, or you can leave the egg out entirely for a lighter version.
How do I store leftover kimchi chicken fried rice?
Leftovers keep well in an airtight container in the refrigerator for up to three days. Reheat in a hot skillet with a small splash of oil to help bring back some of the crispiness, since a microwave will leave the rice soft.
Can I use this chicken kimchi fried rice method with other proteins?
Yes, this same technique works wonderfully with Spam, tofu, shrimp, or even leftover pork. Just adjust the cooking time slightly depending on what you use, since some proteins cook much faster than chicken thighs.
Recipes You May Enjoy
- Tempura Shrimp Recipe
- Chicken and Cheese Taquitos
- Tuna Poke Bowl
- Sweet Potato Taco Bowl
- Matcha Tiramisu Recipe
- Chinese Chicken Salad
A Recipe Worth Making Again and Again
What makes this recipe so satisfying is how something this simple can taste this good. A handful of pantry staples, a jar of good kimchi, and a hot pan come together into something that tastes like it belongs on a restaurant menu, yet it is entirely achievable in your own kitchen on a busy weeknight.
Once you have made it a few times, this kimchi chicken and rice recipe becomes one of those easy staples worth keeping in regular rotation, whether it is for a quick solo dinner or a shareable meal with family and friends.
Tried This Recipe? Leave a Review!
There are no reviews yet. Be the first one to write one.