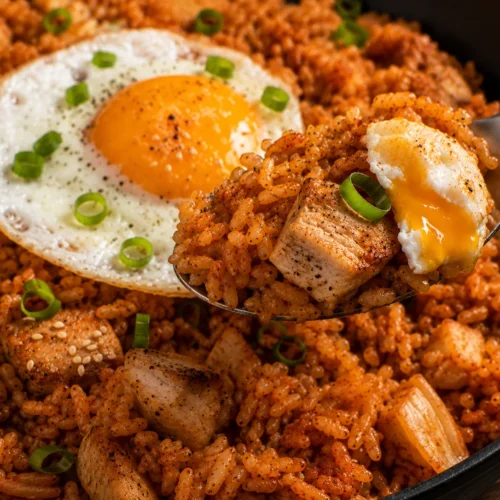
Kimchi Chicken Fried Rice

Juicy seared chicken, crispy day-old rice, and tangy fermented kimchi come together in one pan, finished with a fried egg on top for a quick, restaurant-style Korean-inspired dinner.
Equipment
- Large skillet or wok
- Small skillet (for frying eggs)
- Spatula
Ingredients
- 4 cups cooked day old white rice
- 1 pound boneless skinless chicken thighs, cut into bite sized pieces
- 1½ cups chopped kimchi
- 2 tbsp kimchi juice from the jar
- 2 tbsp neutral oil
- 3 garlic cloves minced
- 3 scallions sliced, whites and greens separated
- 1 tsp gochujang if you have it
- 3 tbsp soy sauce
- 1 tsp toasted sesame oil
- 2 to 4 large eggs depending on preference
- 1 tsp toasted sesame seeds optional, for garnish
Instructions
- Prep and Cook the ChickenCut the chicken thighs into small, bite sized pieces so they cook quickly and evenly. Mince the garlic and slice the scallions, keeping the white and green parts separated.Heat the neutral oil in a large skillet or wok over high heat, then add the chicken and cook until golden brown and cooked through, stirring occasionally.
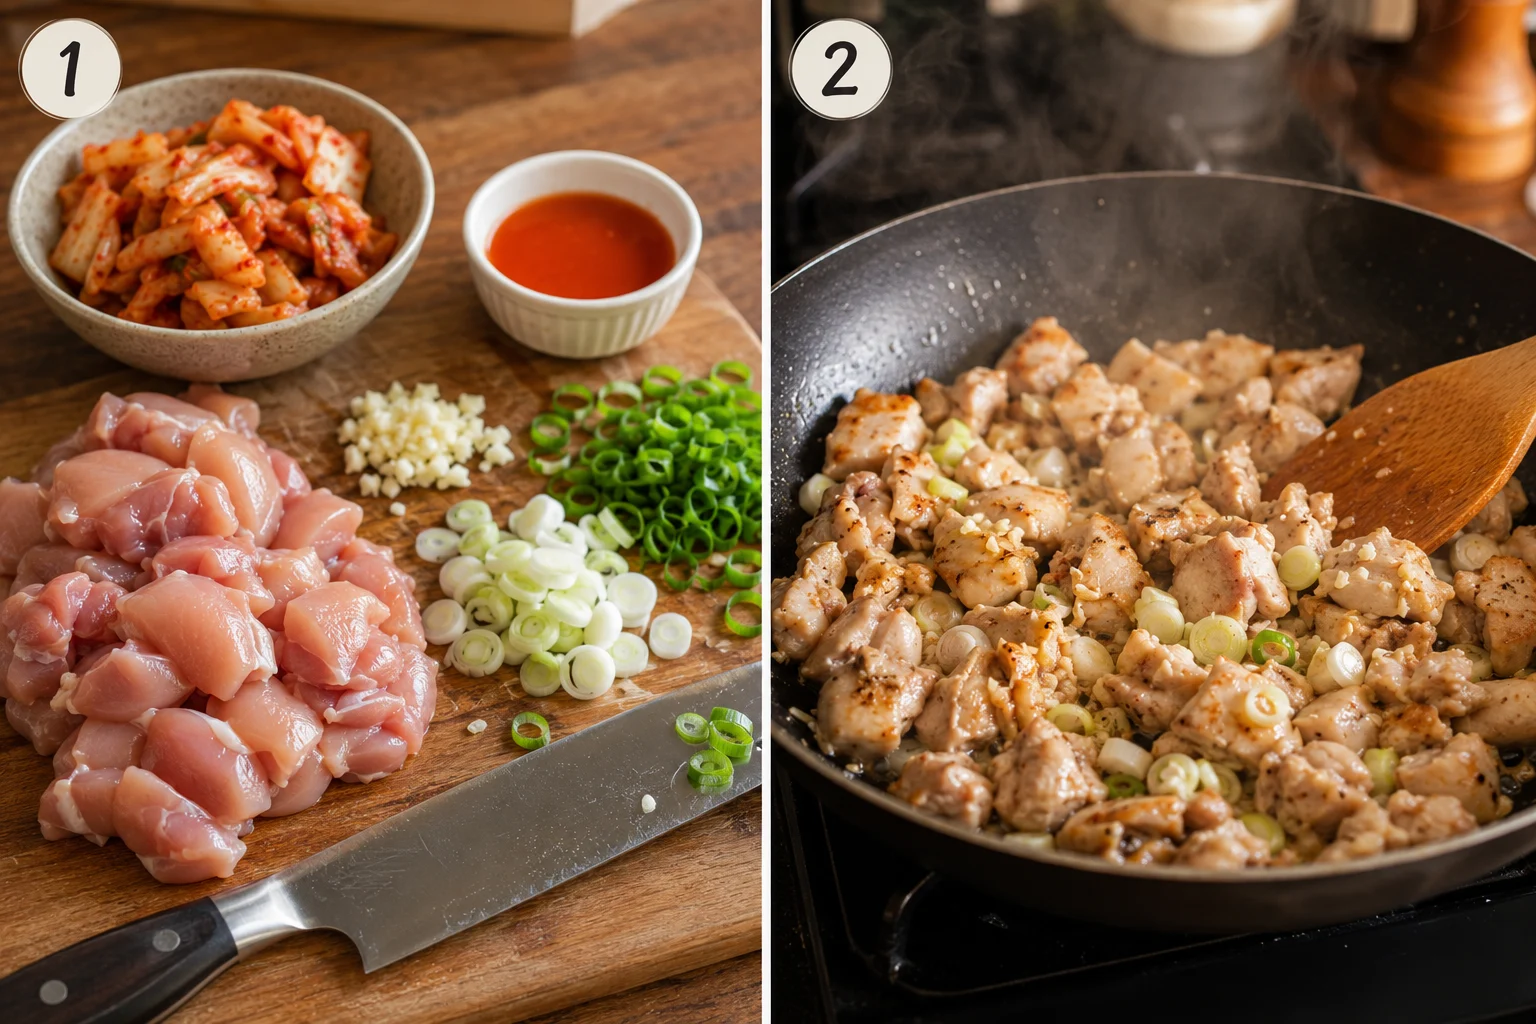
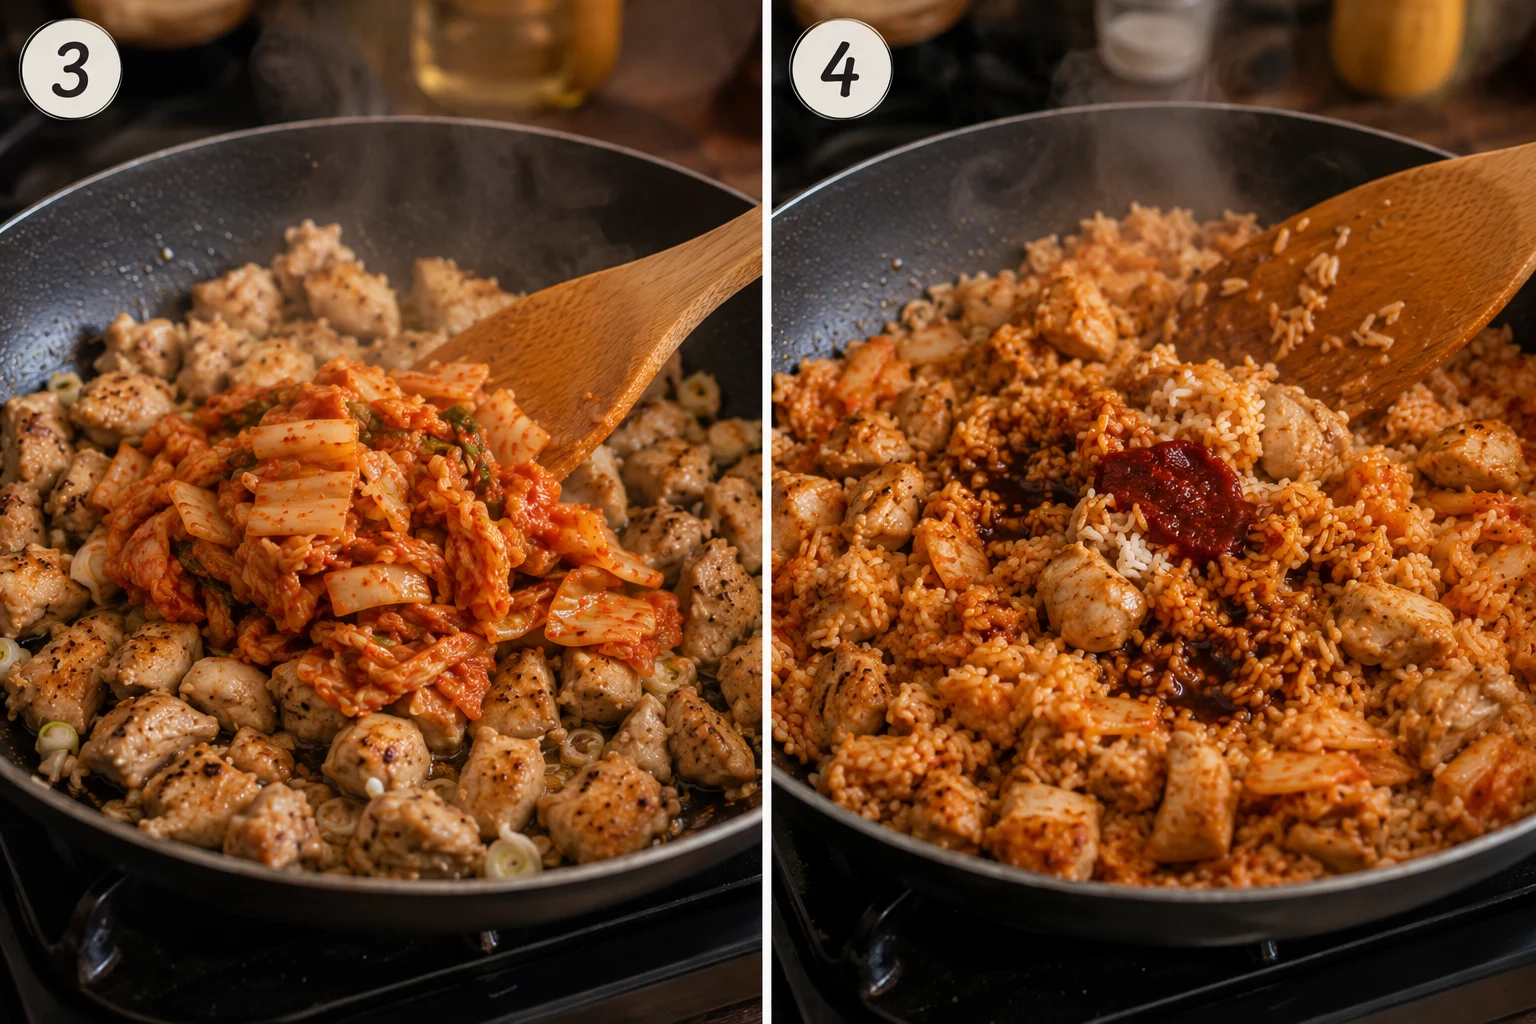
- Add the Kimchi and Fry the RiceAdd the garlic and white parts of the scallions to the pan and stir for about thirty seconds until fragrant. Add the chopped kimchi and let it cook down for a couple of minutes until slightly caramelized, then stir in the gochujang. Break up the day old rice and spread it into an even layer, letting it sit undisturbed for a minute to crisp up.Pour in the kimchi juice and soy sauce, tossing until the rice is evenly coated and deeply colored.
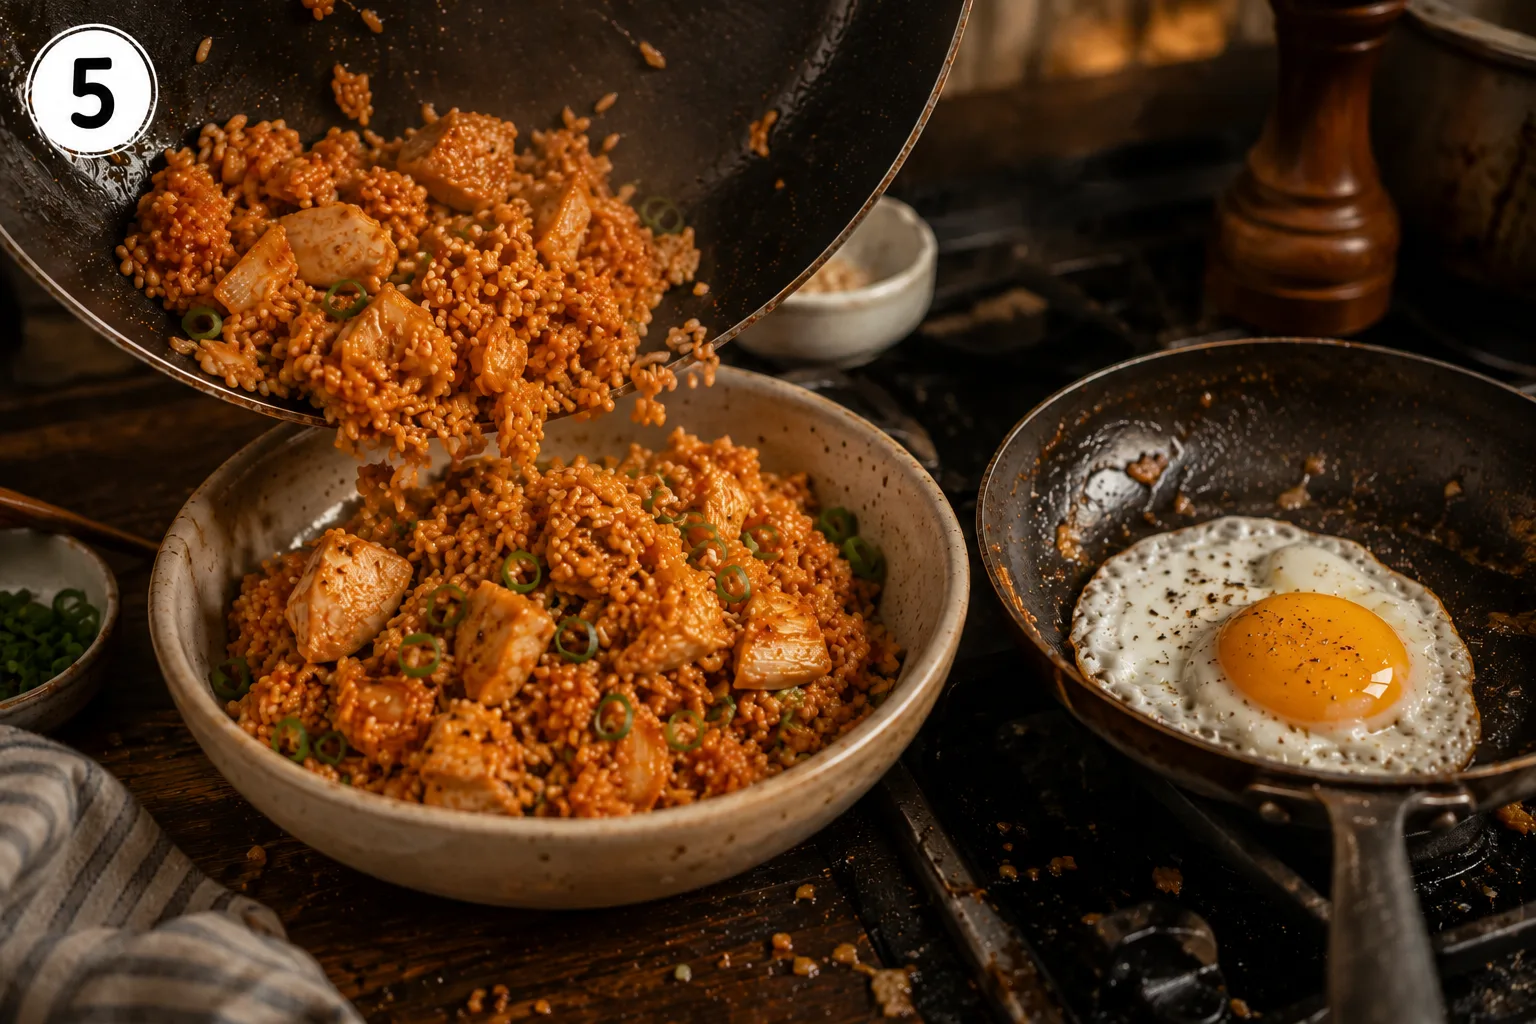
- Fry the Eggs and ServeWhile the rice finishes cooking, heat a small separate pan and fry the eggs sunny side up until the whites are set and the edges turn slightly crisp, keeping the yolk runny. Spoon the fried rice into bowls, top each with a fried egg, and finish with the sliced green scallions and toasted sesame seeds.
Notes
- Use rice that has had time to dry out, since this is what creates the crispy, separated texture instead of a sticky, clumpy one.
- Choose kimchi that is well fermented and tangy, since this adds far more depth of flavor than a very fresh, mild kimchi.
- Let the rice sit undisturbed in the hot pan for a minute before stirring, since this is what builds those crispy, caramelized bits.
- Cook in batches if needed so the pan stays hot enough to fry the rice properly rather than steaming it.
- Keep the heat high throughout the cooking process for that slightly smoky, restaurant style flavor.
- A well seasoned wok or nonstick pan helps a great deal, making it easier to get an even, golden fry without sticking.