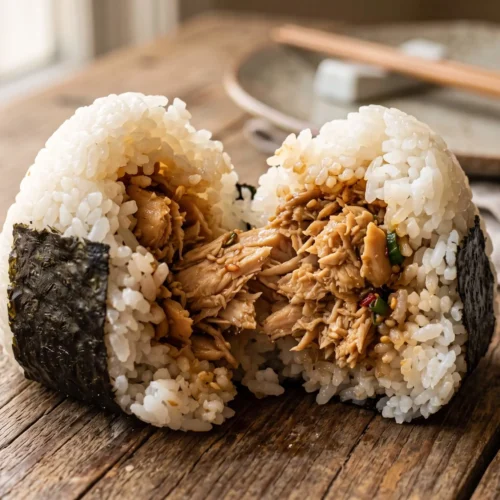
Onigiri Recipe

A classic onigiri recipe showing how to make onigiri with perfectly seasoned rice and your choice of filling, shaped by hand or with an onigiri mold.
Equipment
- Rice cooker or pot
- onigiri mold (optional)
- small bowl of water
Ingredients
Rice
- 2 cups short-grain Japanese rice
- 2¼ cups water
- 1 tsp salt
Tuna Filling (choose one filling option)
- 1 can 5 oz tuna, drained
- 2 tbsp mayonnaise
- ½ tsp soy sauce
Chicken Filling
- 1 cup cooked shredded chicken
- 1 tbsp soy sauce
- 1 tsp mirin
- ½ tsp sugar
Beef Filling
- 1 cup finely chopped cooked beef
- 1 tbsp soy sauce
- 1 tsp sugar
- ½ tsp grated fresh ginger
For Assembly
- 6 sheets nori seaweed, cut into strips
- Extra salt for hands
Instructions
Cook and Season the Rice
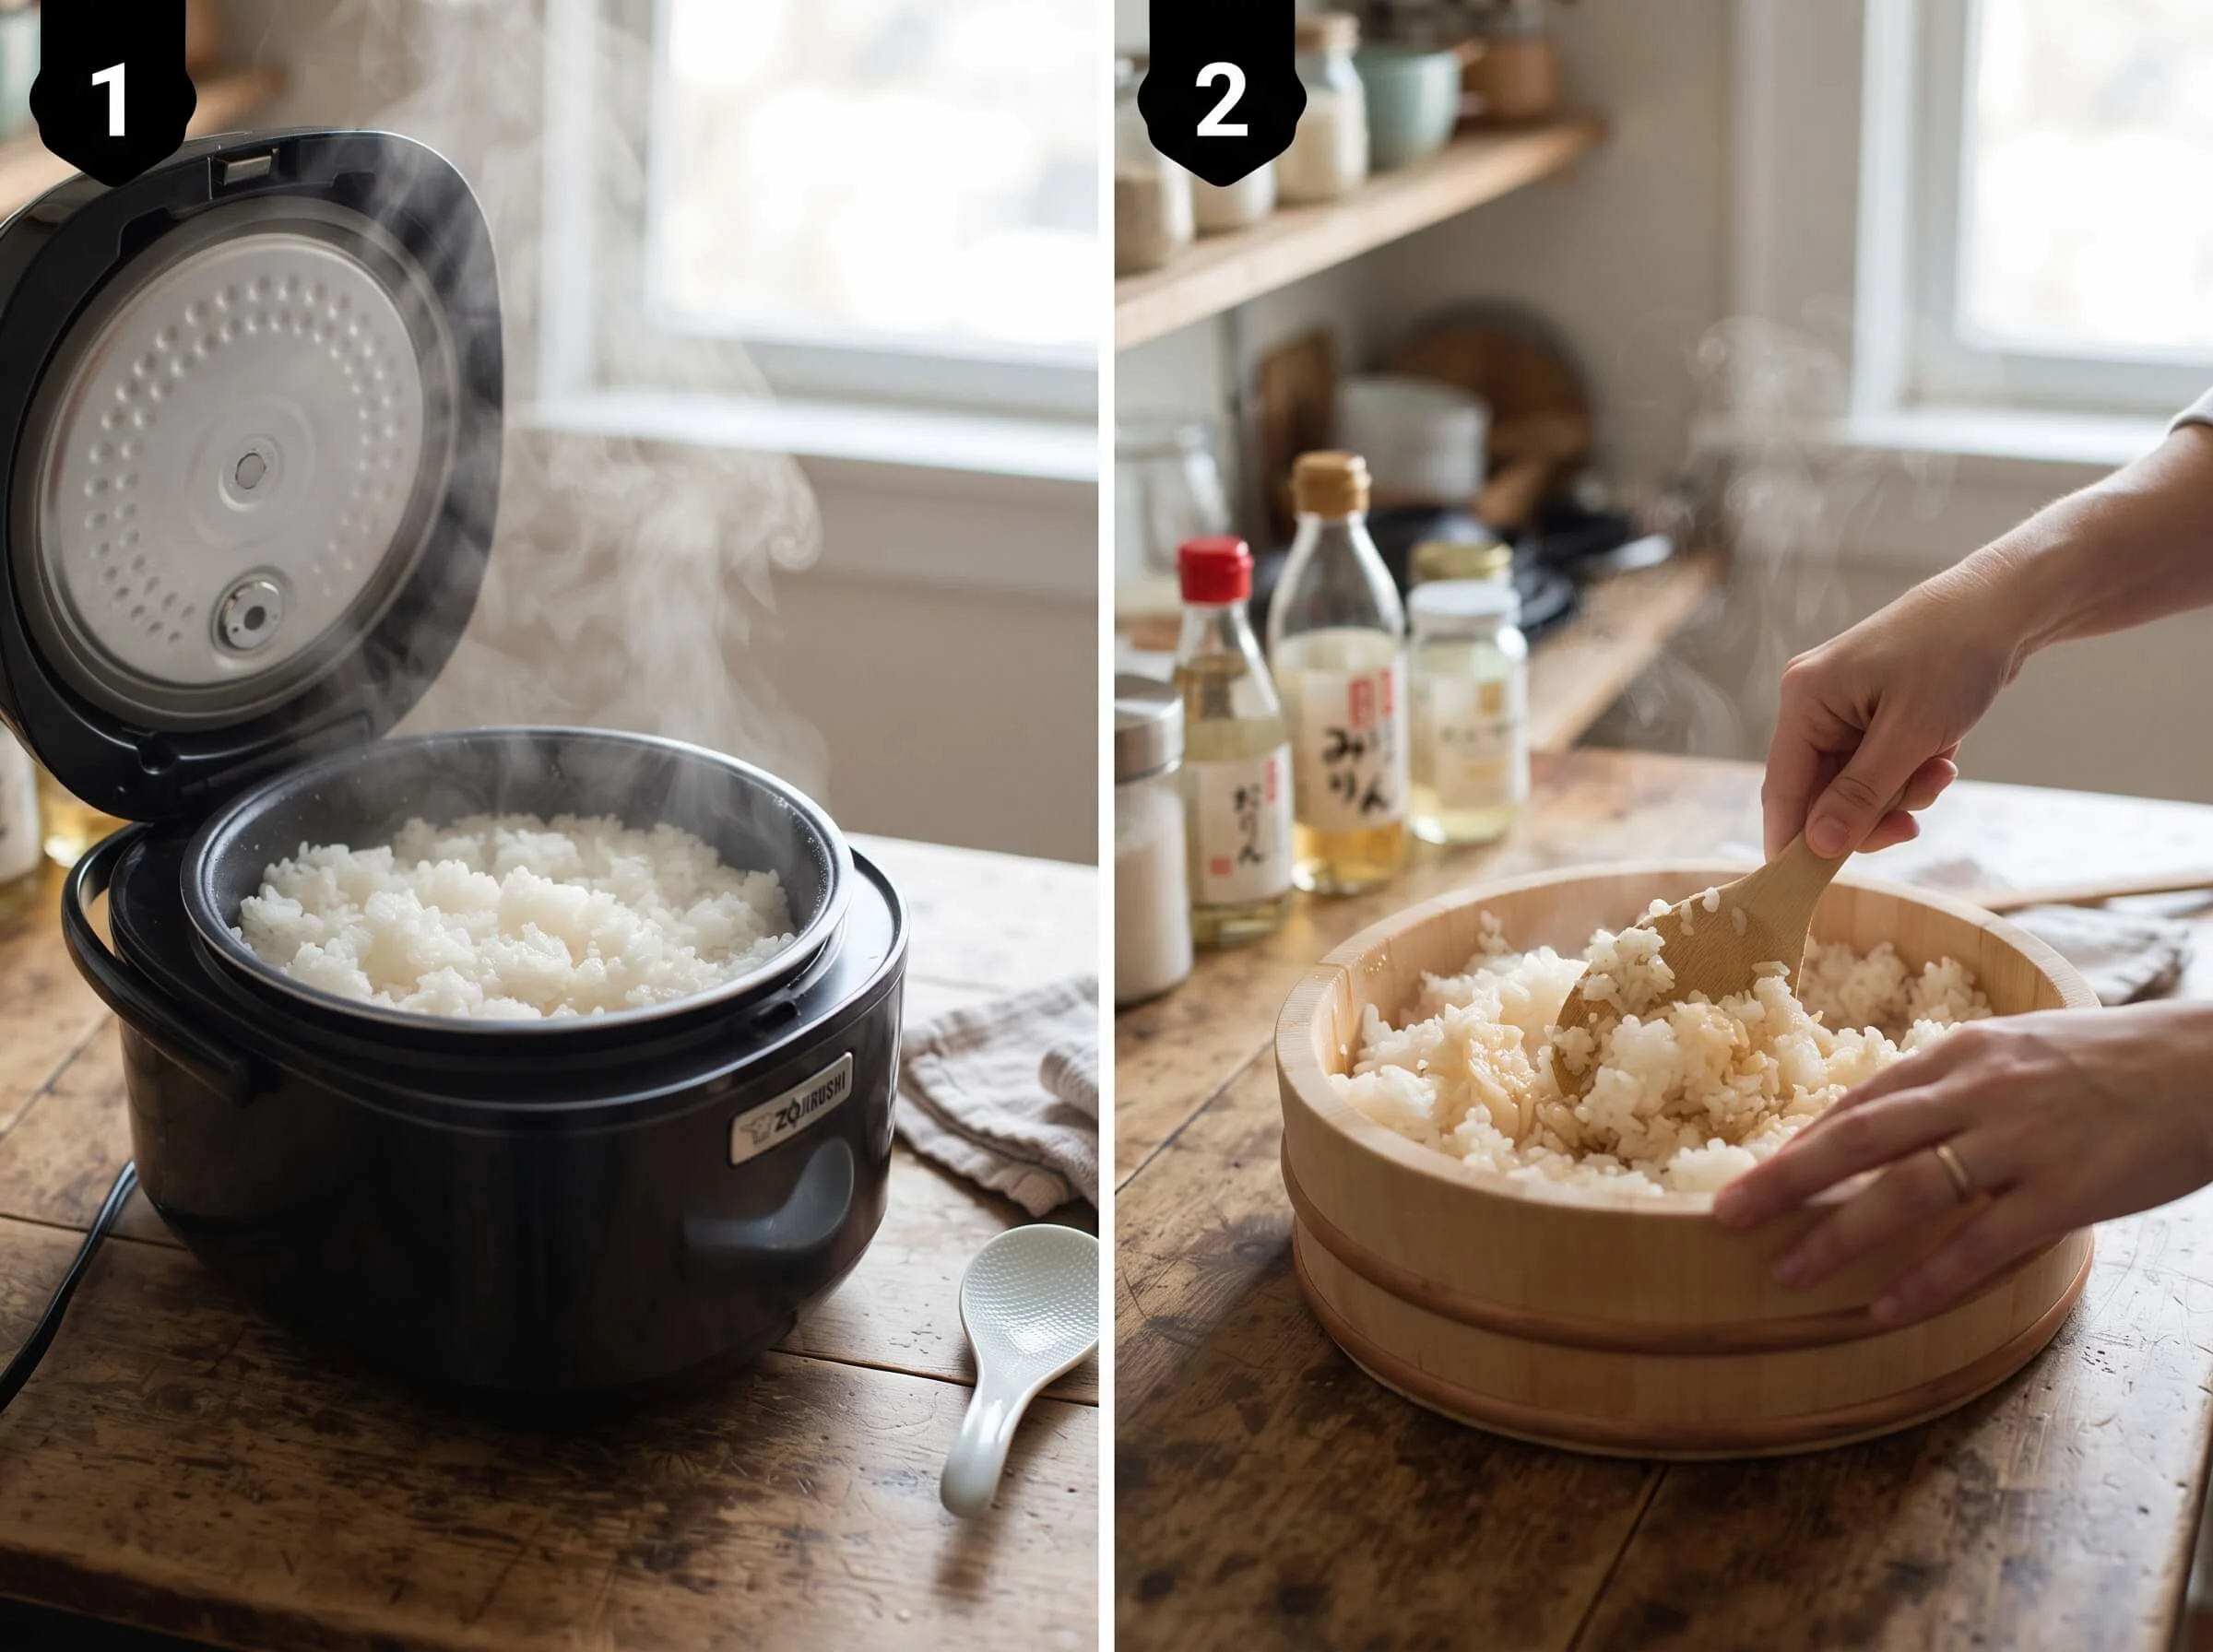
- Rinse the rice under cold water until the water runs mostly clear, then cook it with the measured water in a rice cooker or pot according to your equipment's instructions.
- Once cooked, sprinkle the salt over the hot rice and gently fold it in with a rice paddle or spoon, being careful not to mash the grains. Let the rice cool slightly until it's cool enough to handle comfortably.
Prepare Your Filling
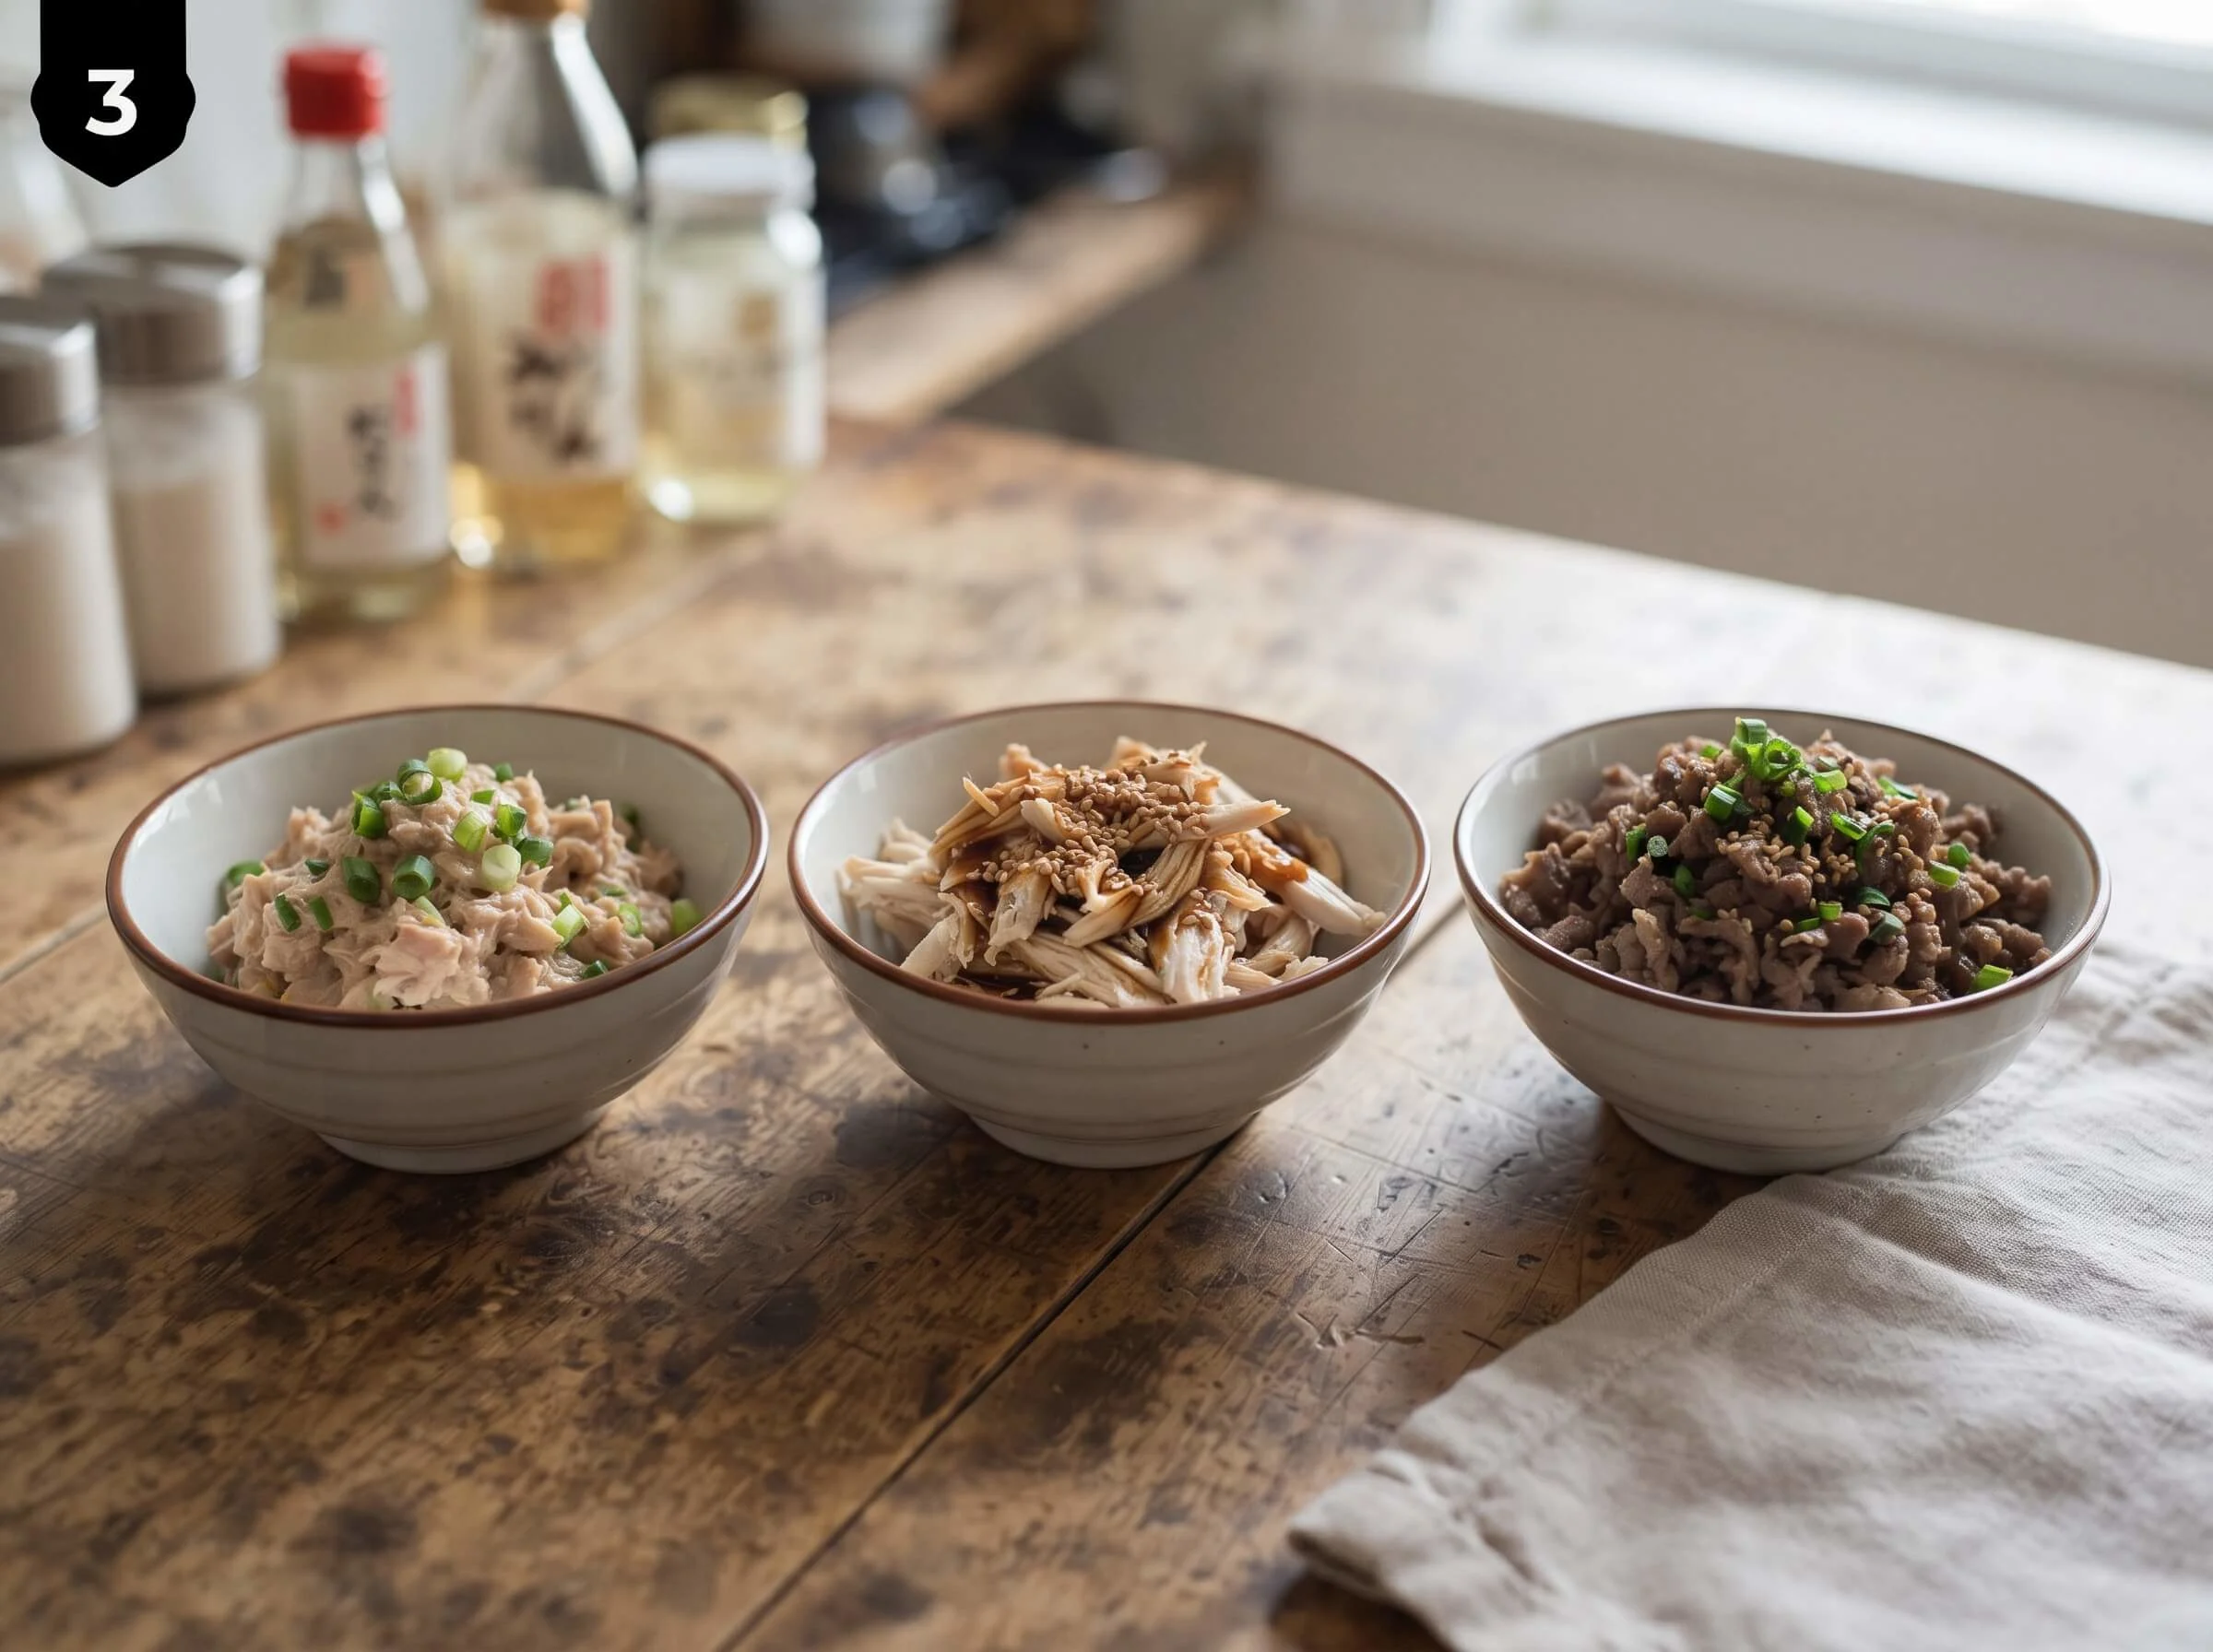
- For the tuna filling, mix the drained tuna with mayonnaise and soy sauce until well combined. For the chicken filling, cook the shredded chicken with soy sauce, mirin, and sugar in a small pan until the liquid has mostly absorbed. For the beef filling, cook the chopped beef with soy sauce, sugar, and ginger until the liquid reduces and coats the meat.
Shape the Onigiri
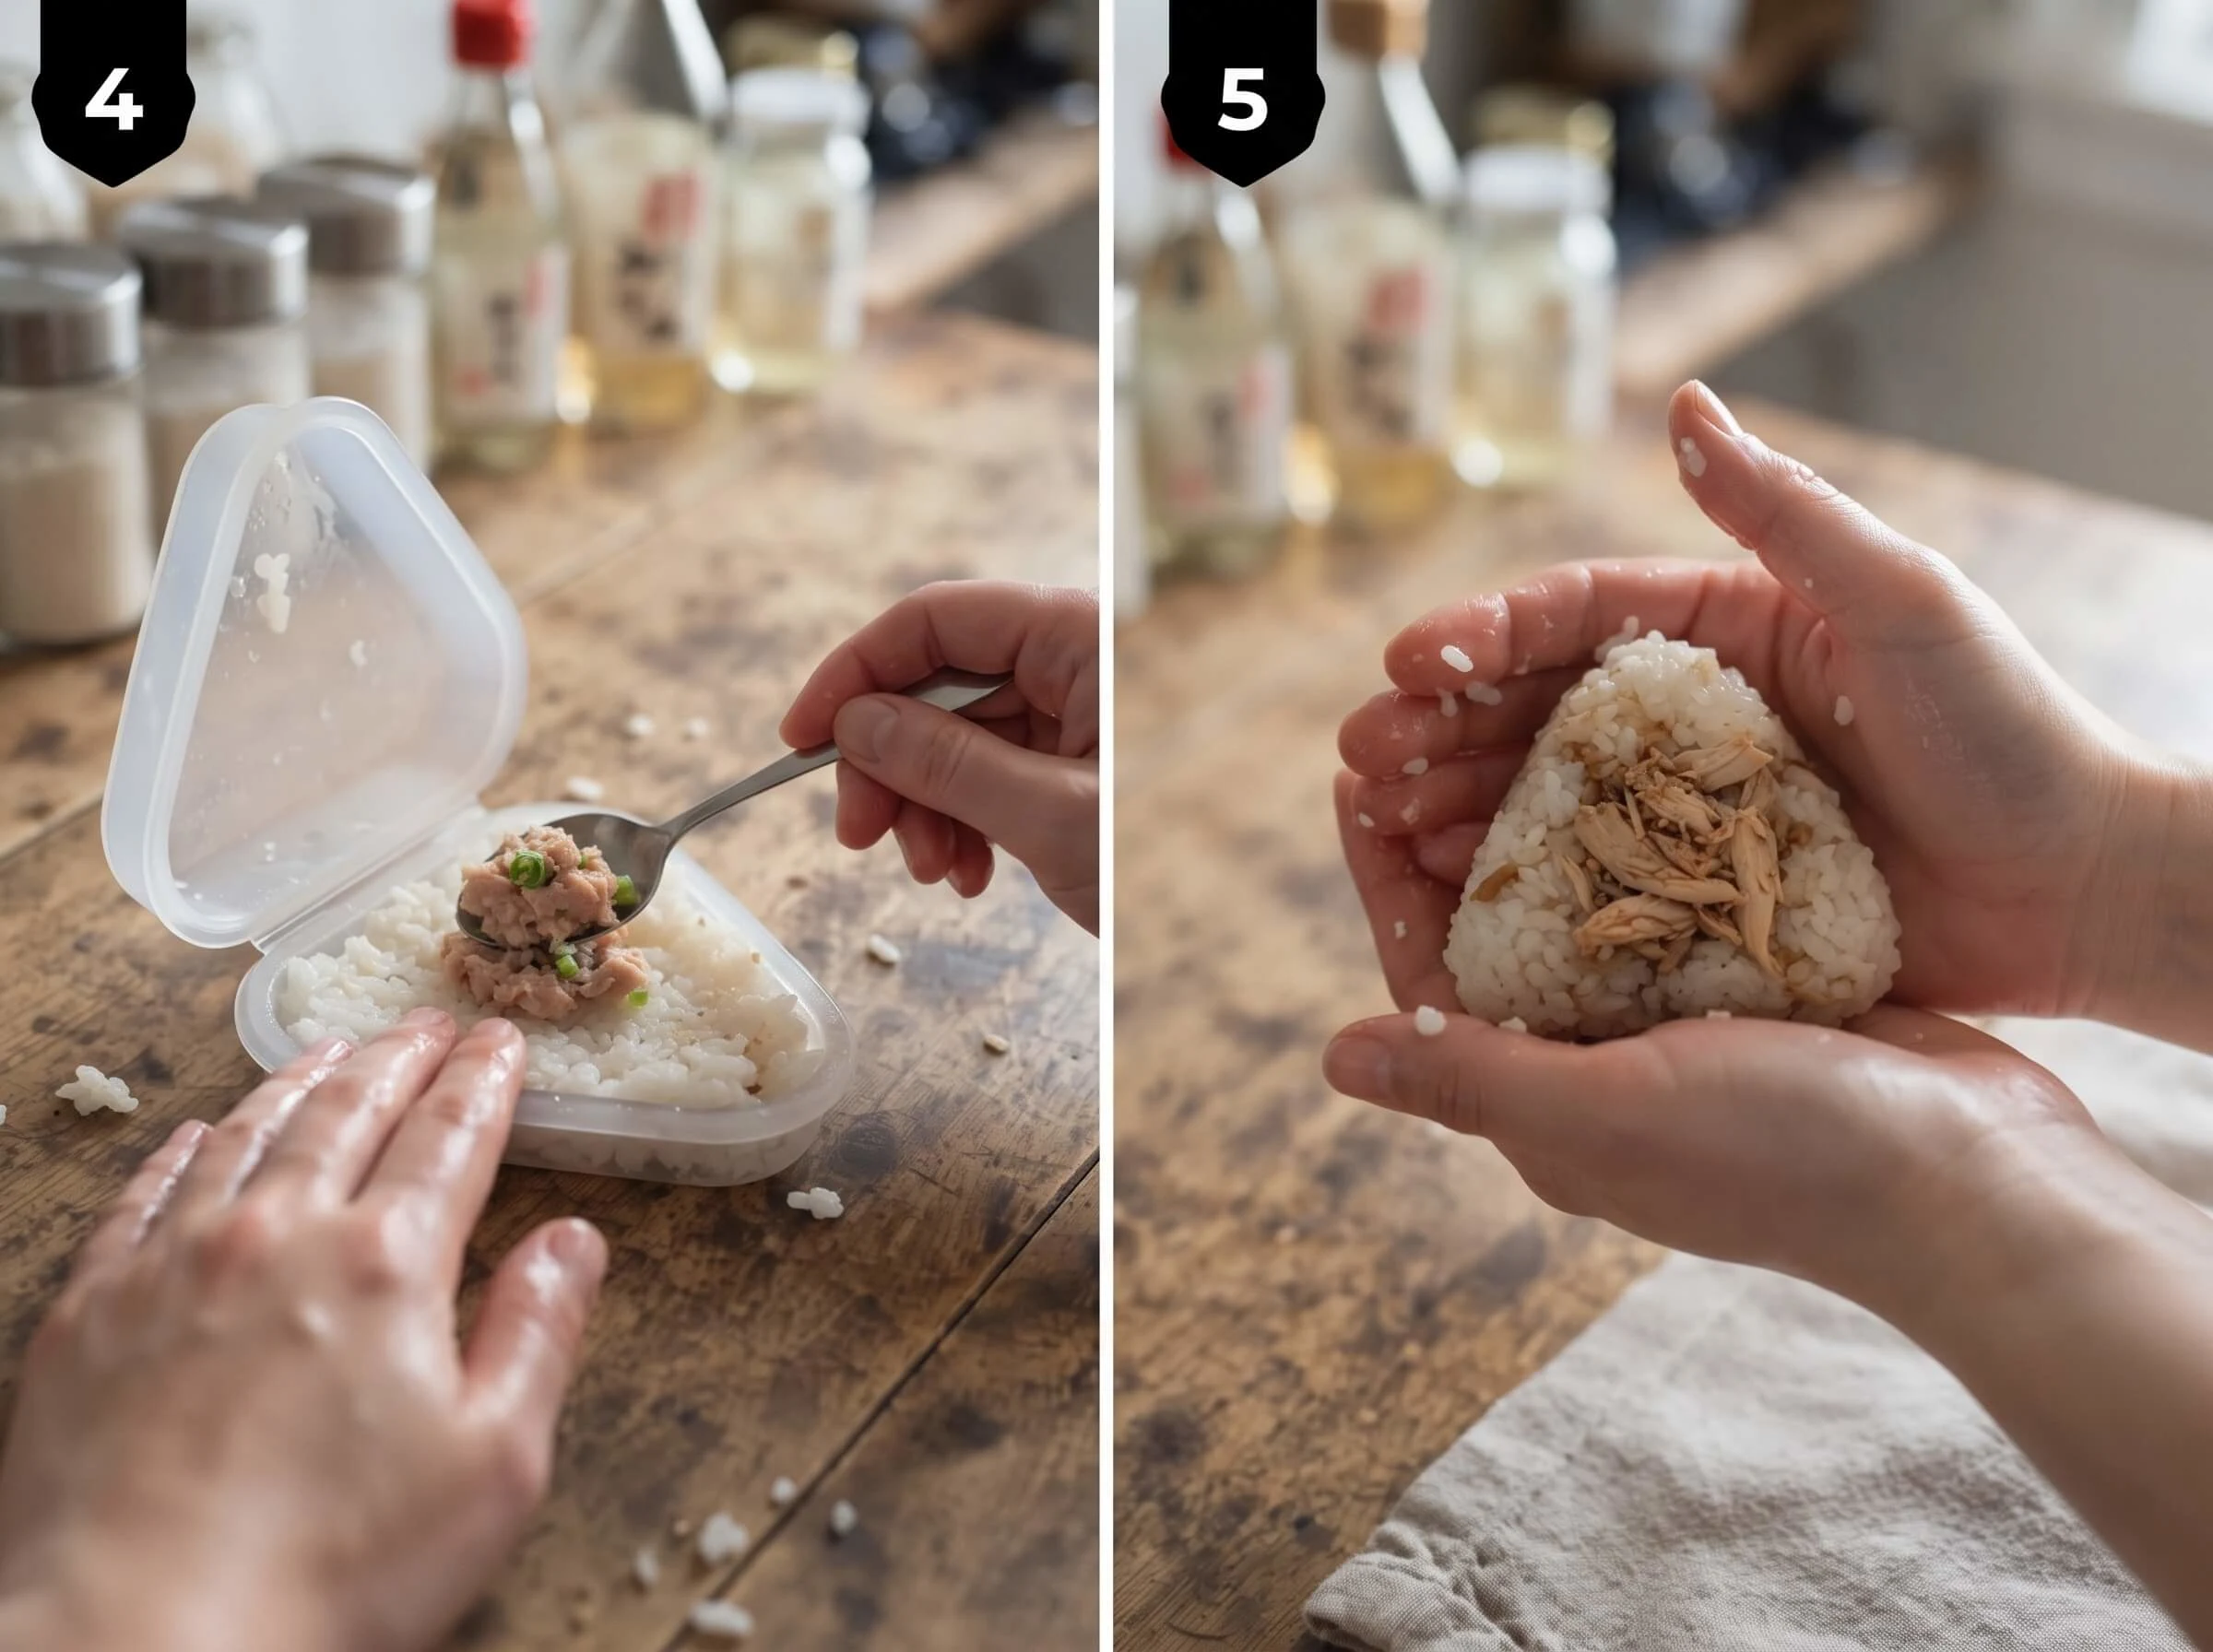
- If using an onigiri mold, lightly wet the inside of the mold with water, add a layer of rice, press a well into the center, add a spoonful of your chosen filling, then top with more rice and press the mold closed to shape.
- If shaping by hand, wet your hands and rub a small pinch of salt onto your palms. Take a handful of rice, flatten it slightly in your palm, add a spoonful of filling in the center, then fold the rice around the filling and gently shape it into a triangle using your palms and fingers, pressing firmly enough to hold its shape without compacting the rice too much.
Wrap and Serve
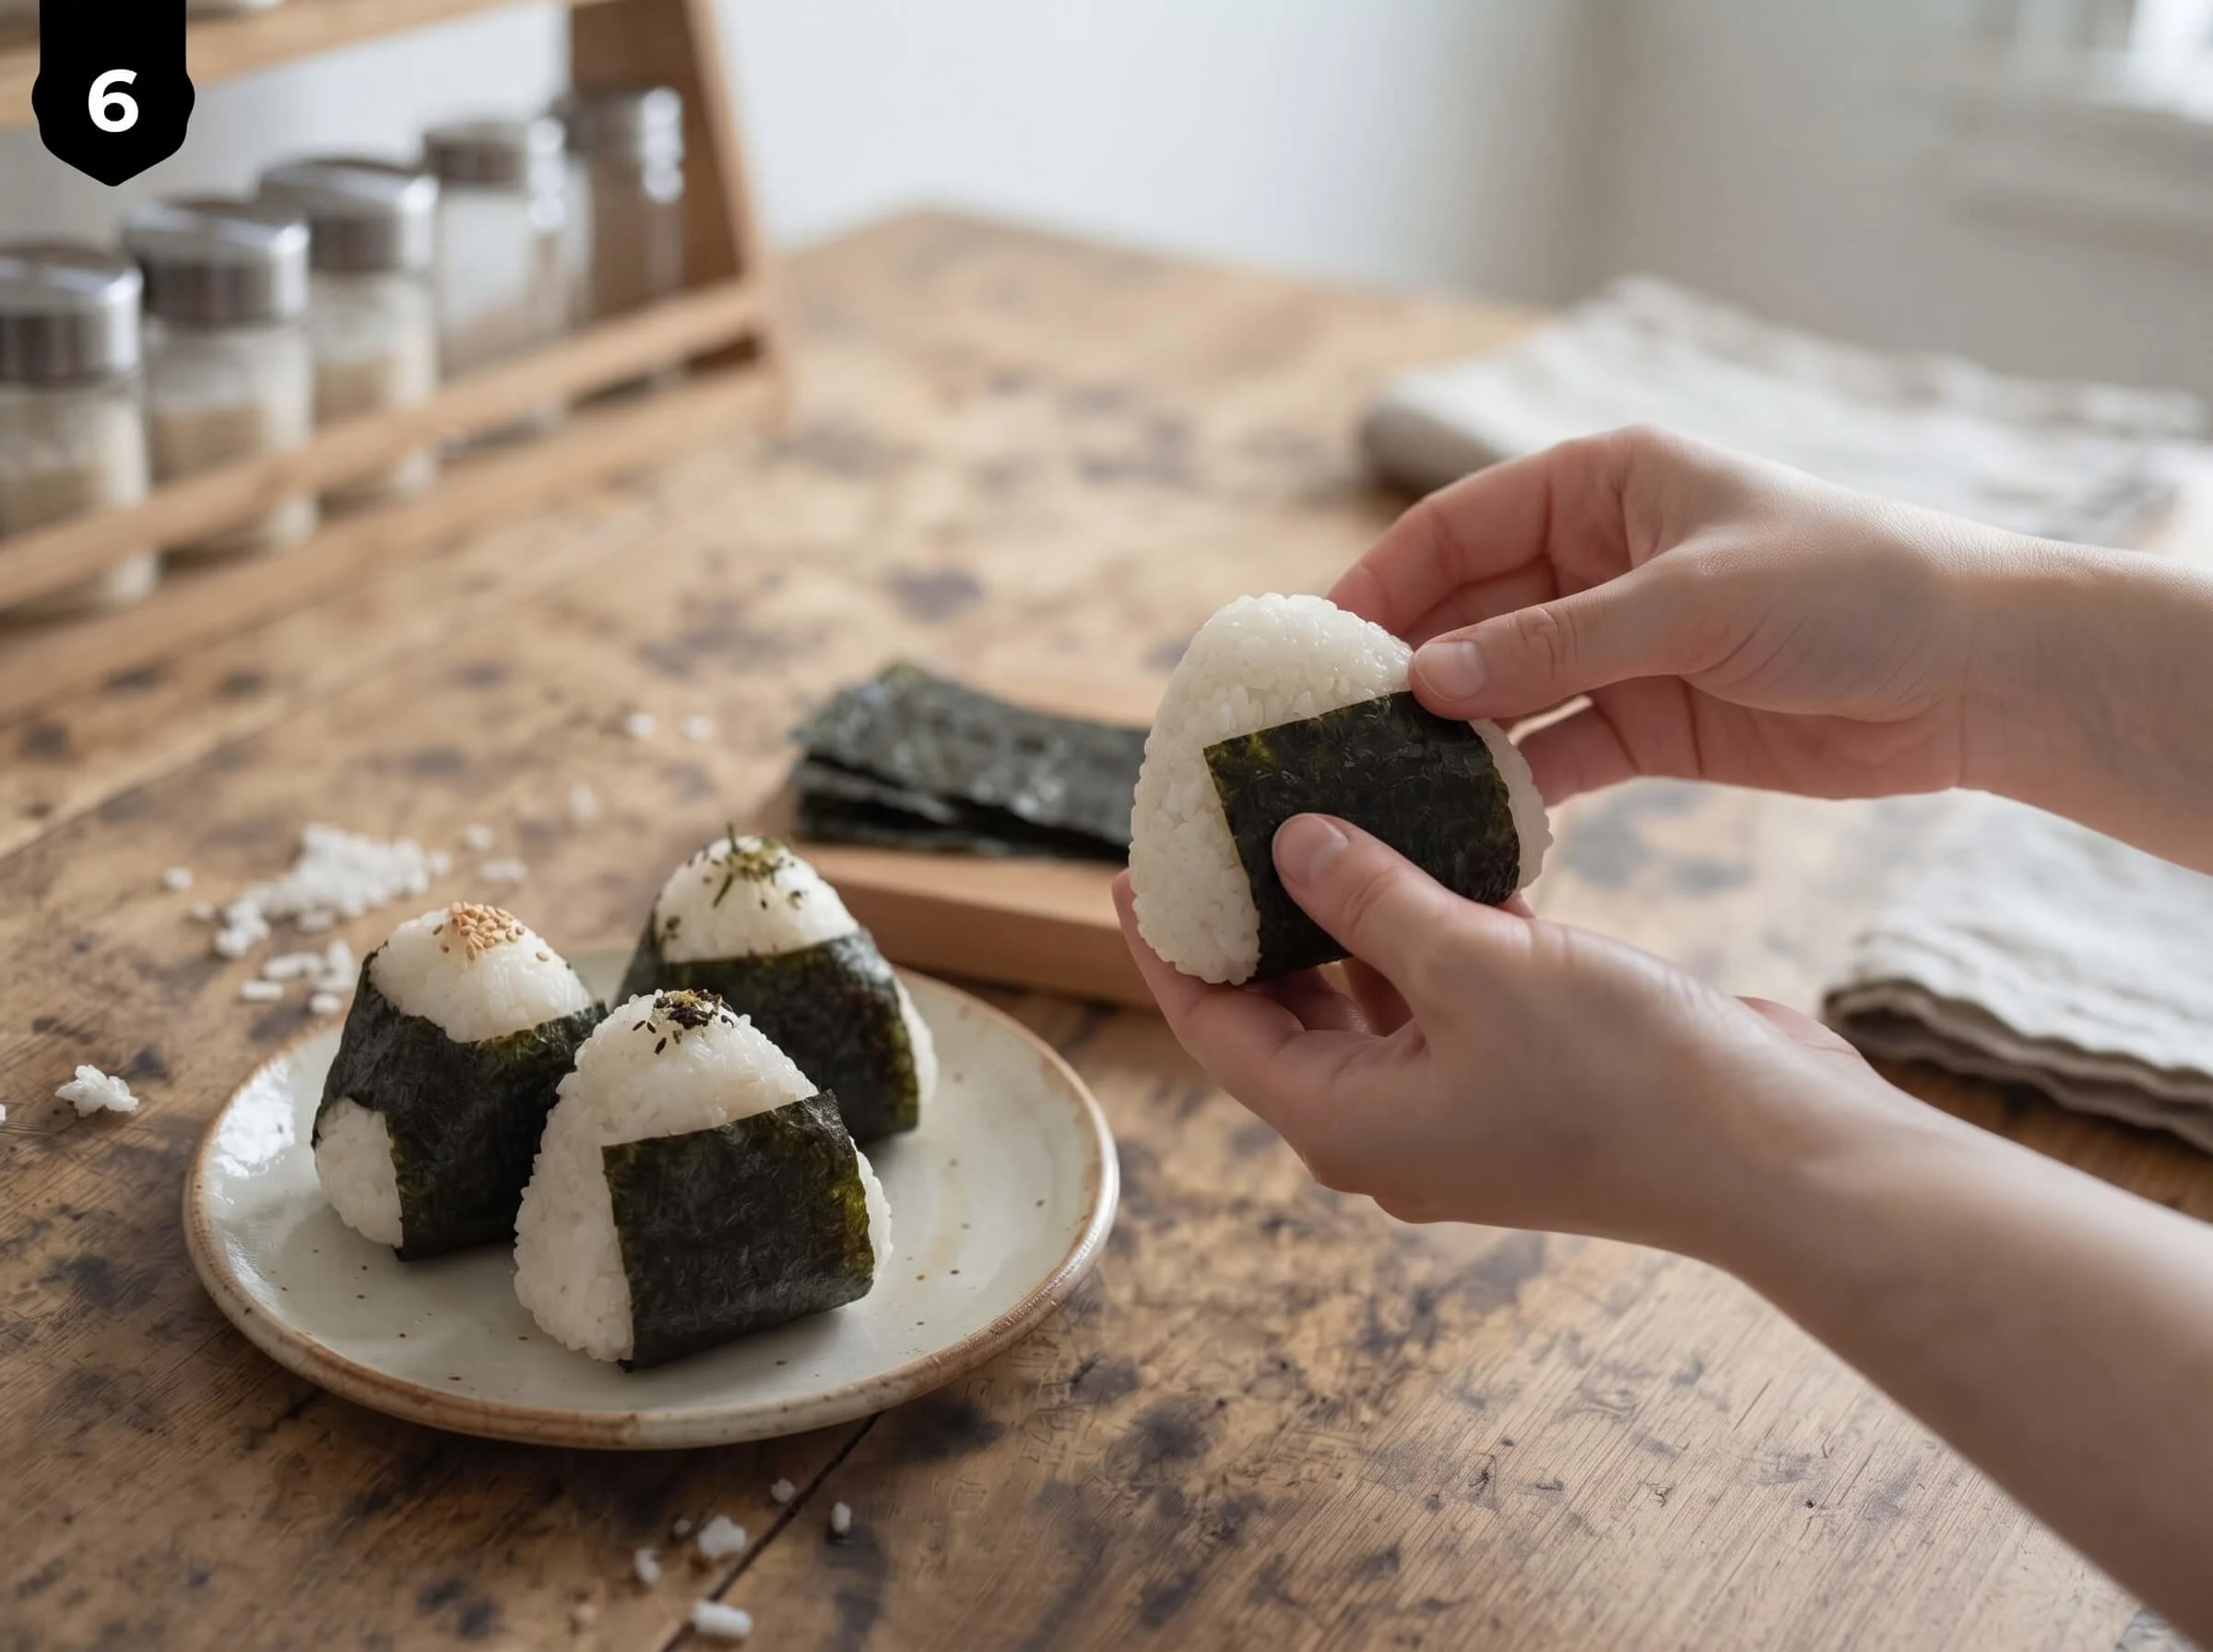
- Wrap a strip of nori around the bottom or side of each shaped onigiri, or serve nori on the side for wrapping right before eating to keep it crisp.
Notes
- Using short-grain Japanese rice specifically is important for this recipe, since its natural stickiness is what allows the onigiri to hold their shape, unlike long-grain rice varieties.
- Wetting your hands and using a small pinch of salt when shaping by hand prevents the rice from sticking excessively while also lightly seasoning the outer layer.
- An onigiri mold makes shaping significantly faster and more consistent if you're making a larger batch, though hand-shaping gives you more control over the exact size and amount of filling in each one.
- Letting the rice cool slightly before shaping makes it much easier and more comfortable to handle without burning your hands, though it should still be warm enough to hold together well.
- Onigiri are best eaten the day they're made, though they can be wrapped tightly and stored at room temperature for a few hours, or refrigerated for up to a day, though the rice does firm up noticeably once chilled.